
Rye bread,smell of just baked rye bread is floating in my house!
There is a popular misconception that you have to get complicated about rye flour. Not so. You don’t need sourdough, you don’t need molasses, you don’t need oil. You just need the usual four suspects (flour, water, salt, yeast) to make a completely simple, lovely rye loaf.Rye does not have the same kind of gluten structure as wheat. That means many people who are intolerant to wheat, can eat rye pefectly easily. That also means you do not need to knead rye flour the way you have to knead wheat or spelt. Don’t expect this dough to transform at all. It is not going to get silky and elasticy like a wheat dough. The result, nevertheless, is a lovely, soft textured, crispy crusted, delicious and satisfying bread. This time I did add little honey and caraway seeds into the dough.

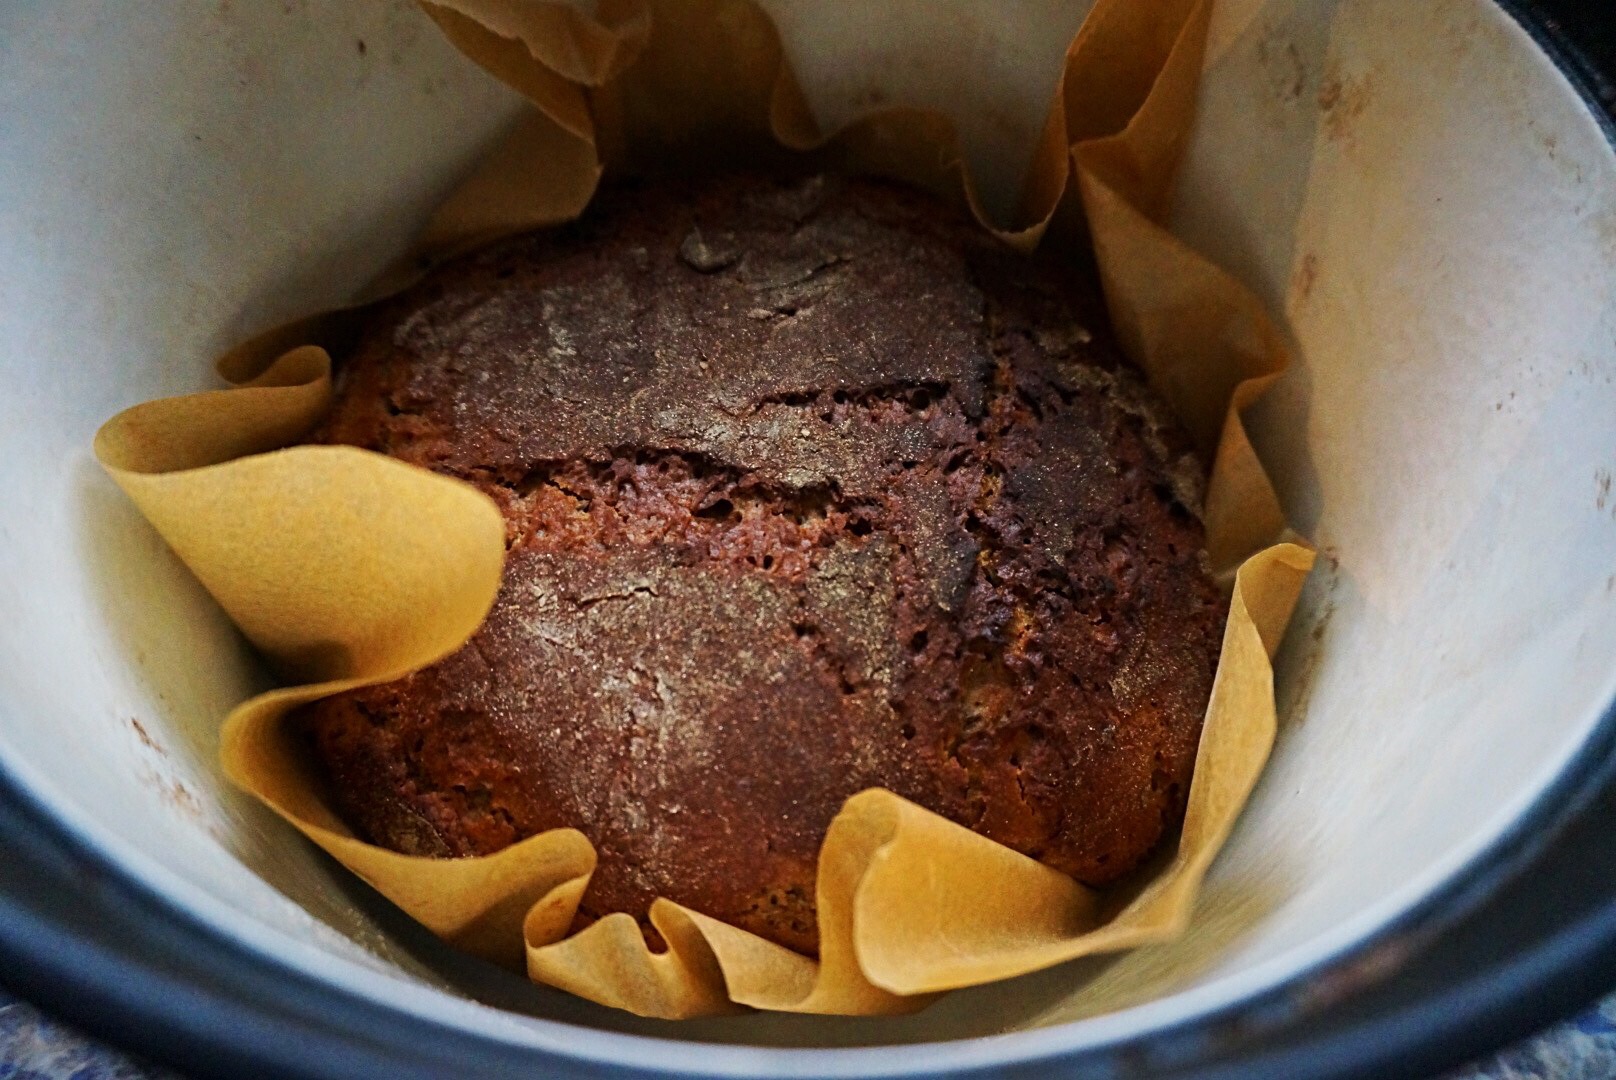
My method of baking is bit different than usual. I am using my cast iron Sarpaneva pot to bake my bread.Pot baking is a very ancient way to bake bread. The Egyptian bakeries of 1000 BCE,used a similar method and Irish soda bread was usually baked in the pot. Granted these pots or the cloche were placed in coals and then covered with more coals, but a very good loaf results with a lighter texture than usual from following this procedure.

Why use a pot? The idea is that the loaf is baked in a sealed container for the first 20 minutes, which allows the loaf to billow and gain volume without being restrained by the formation of a crust, as happens immediately in conventional baking….unless the baker adds steam, which many do in order to produce a similar (but not as good) result. This is also far easier safer and more effective than the contrivances some home-bakers use to put steam into the oven. After 15-20 minutes of undercover baking, the lid is removed to allow the loaf to fully bake, dry out and form a crust, which is always thinner and can be crisp and boulangerie-like.What sort of pot? A heavy cast iron pot is ideal and non-stick is a good idea! But we have also used ceramic pots, which suggest you can use anything that is over proof.
Here is the recipe:
- 400-500 grams of light rye flour
- 25 grams yeast( one cube) or one sachet of dry yeast
- 2,5 dl of warm water
- 6 grams of salt
- 1 tablespoon of caraway seeds
- 1 tablespoon honey
- Put the flour in a bowl and make a well in it. Mix the honey into the warm water.Put the yeast in the well and pour on 1/2 the water. Let it rest for 15 minutes. Pour the rest of the water in, add salt and caraway seeds, and mix all of this together with a wooden spoon. Give it a good stir to make sure all of the ingredients are well mixed. You won’t have to knead it but mix it well, in order to ensure your yeast and salt are evenly mixed in. It will be kind of like trying to stir porridge or mud pies. Satisfying. Messy. Adjust the water /flour (ie add more if necessary) so that you have a soft, sticky dough. It should not come away clean from the bowl, but be much softer – you can easily press your fingers into it.
- Wet your hands thoroughly and scrape it all out of the bowl. Mould it into a little bred and gently place it on piece of baking paper.
- Leave it, covered with a damp tea towel or cling flim for two hours or so until it has risen visibly.There will be little holes on top and that is normal: these are the air bubbles bursting through the top. Even better if you let the dough rice over night in air tight container. Flavours will develop better.
- Put your pot into the oven. Heat the oven to 225c.
- Dust it with flour or spray the top with a plant sprayer and sprinkle some seeds on the top,if you like some crunch on your bread. Remove your cast iron pot from the oven,and with the help of your baking paper, lift the bread into the cast iron pot.
- Put the pot back into the oven, set the timer, and at 15 minutes remove the lid. Turn the oven down to 200c and bake a further 30 minutes.
- Remove the pot from the oven and let it cool a little. Usually removing the bread requires a knife to be slipped around the edge of the pot to loosen the bread. Turn the pot upside down. Remove baking paper and that’s it!
