- 3 slices of rye bread, Finncrisp works too but the bread has to be made with real sourdough
- 1 liter of water
- 600 g whole grain rye flour
Instructions:
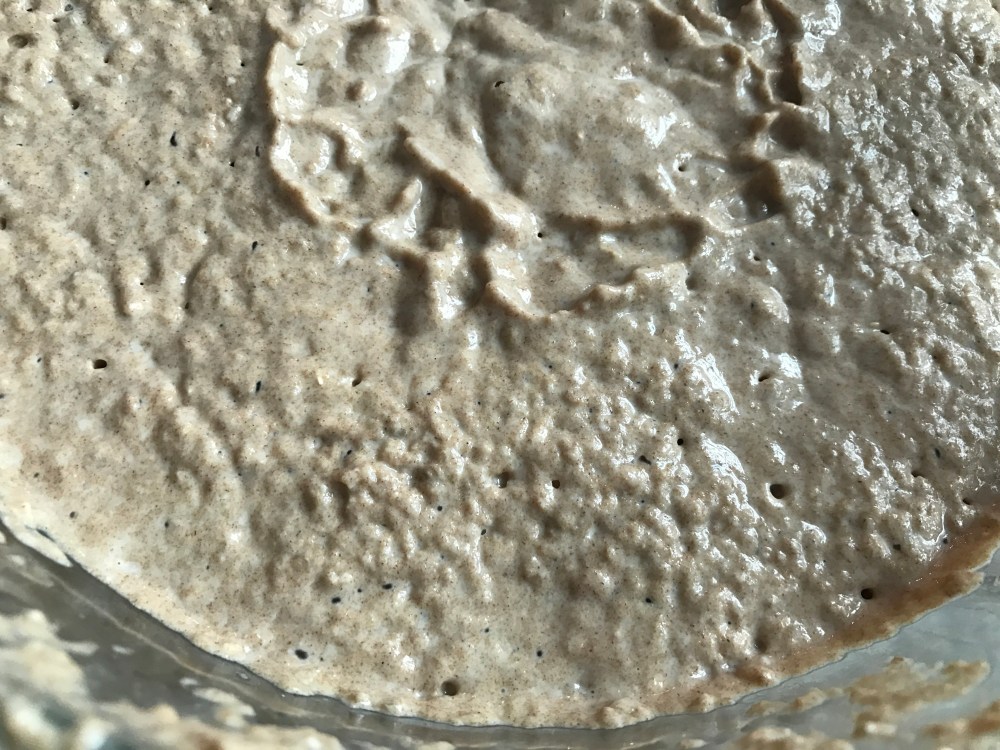
- Mix crumbled bread or Finncrisps, warm water, and flour together. Let it stand in a warm place for 12-15 hours, stirring occasionally. (The sourdough needs air in order to develop acidity.) The mixture should now be bubbling.
- If the fermentation has stopped, mix 2 dl of warm (30 degrees Celsius) water with 1.5 dl of flour. Add this mixture to the sourdough and let it ferment for another couple of hours.
- Use freshly ground flour (or as fresh as possible) because yeast-free baking relies on the yeast formation caused by the flour’s own enzymatic activity.
This is the recipe for the bread:
2 loaves of bread or 4-5 round loaves
9 dl water1 dl sourdough starterApproximately 2 kg rye flour 2-3 teaspoons salt
Day 1: Making the Sourdough
1. Mix sourdough starter with lukewarm water and add rye flour slowly to create a thick batter. Cover the container with a cloth and leave it draft-free at around 25-30 degrees Celsius for one day.
2. Stir the sourdough a few times during fermentation, adding some rye flour each time. Use a large enough container as the sourdough will bubble vigorously.
Day 2: Kneading and Baking
1. Save about 1-2 dl of sourdough in the fridge or freezer. You can also dry the sourdough in thin layers on the edges of the container or on parchment paper.
2. Add salt to the remaining sourdough in the bowl and gradually knead in rye flour (do not knead as you would with wheat dough). The dough is ready when it’s firm but soft and starts to come off the edges of the bowl and hands.
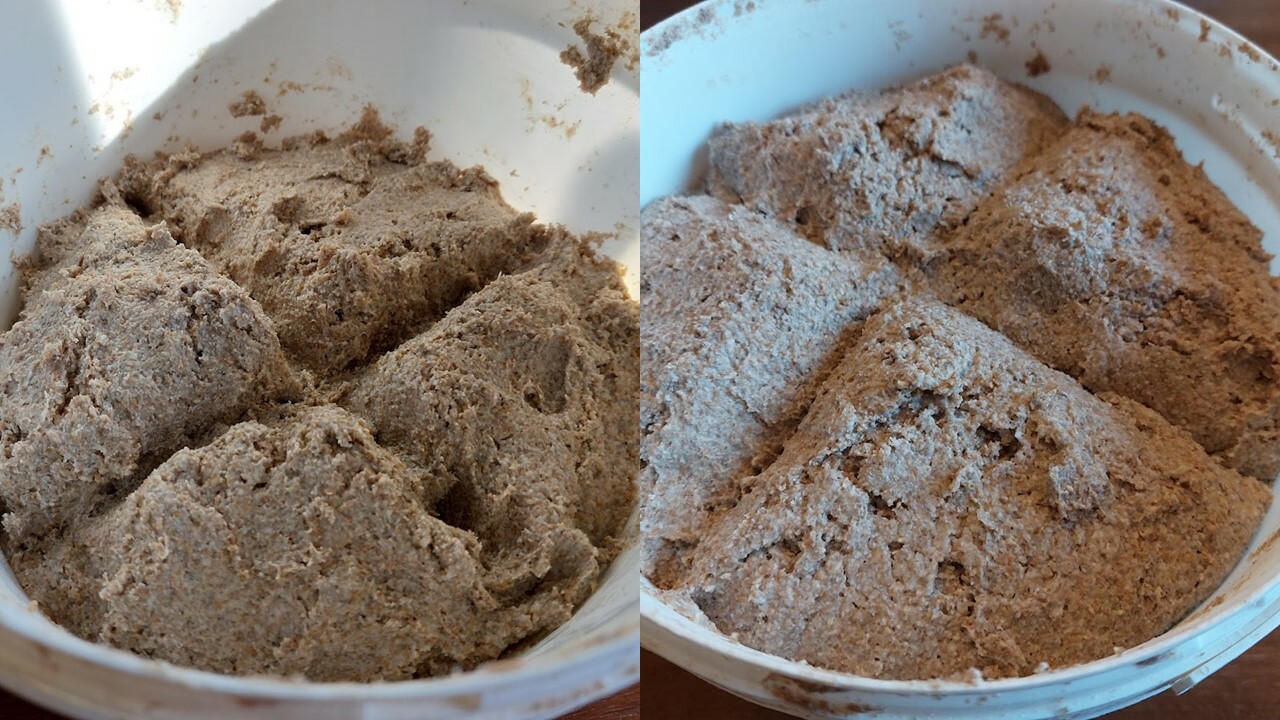
3. Let the dough rise covered in a draft-free place for 1-3 hours until it has doubled in size.
4. Press a cross into the surface of the dough and let it rise for another 1-3 hours until the cross pattern disappears.
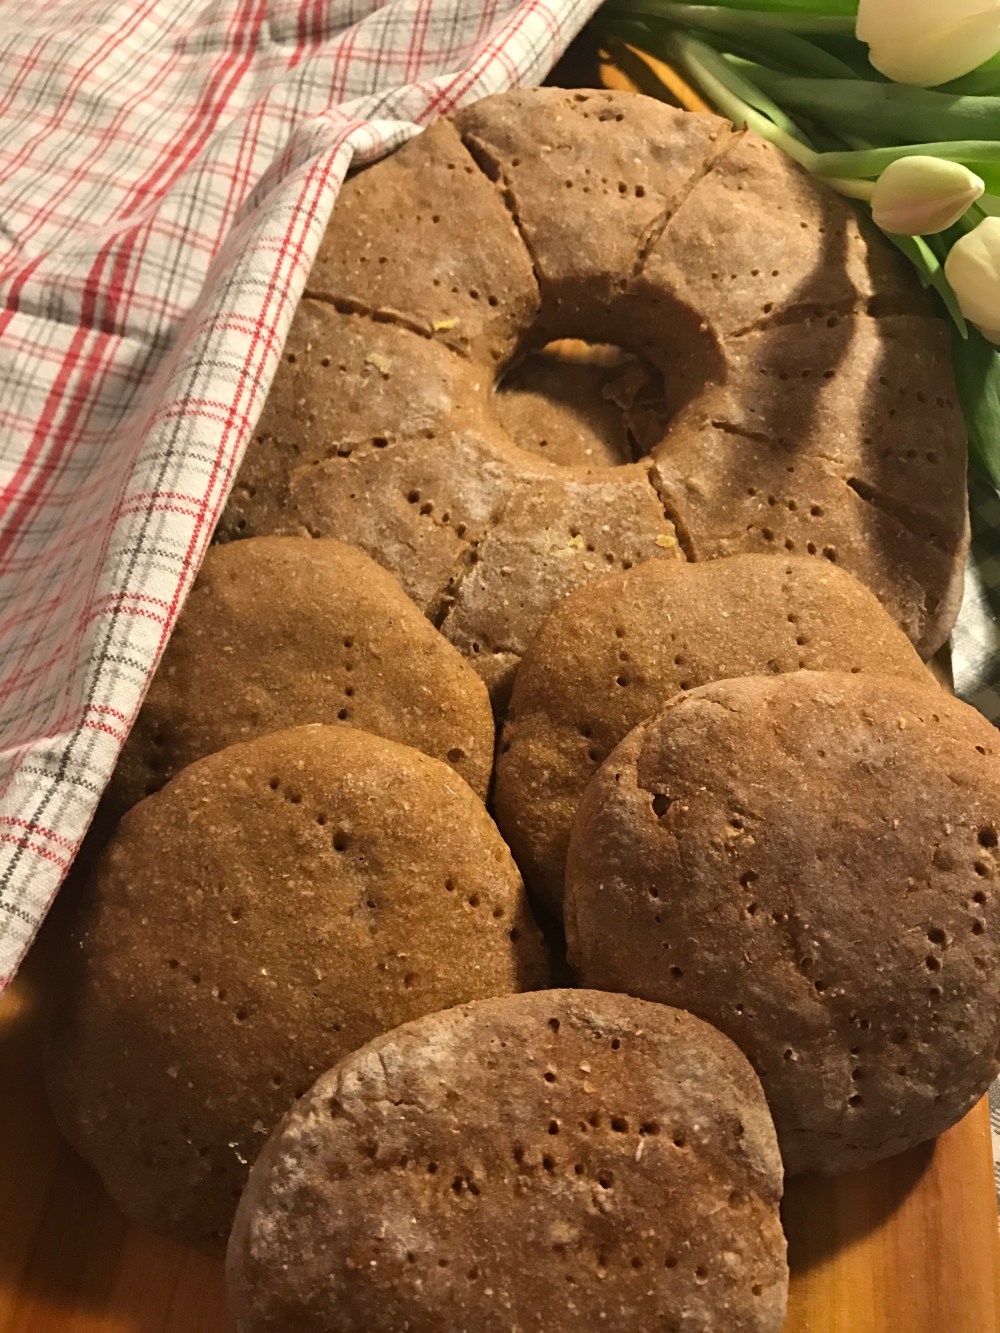
5. Transfer the dough onto a floured surface. Divide it into two for loaves or four for round loaves. Shape each piece into a smooth, cone-shaped loaf. For round loaves, make a hole in the center with a mold and poke with a fork.
Or alternatively, you can make small breads. Make a ball. Place it on a baking sheet and flatten it. With a fork poke holes as you did for the big breads.
6. Place your bread on baking sheets, leaving space for them to rise. Let them rise for about an hour, covered with a wet cloth. Rye dries fast and forms not so nice crust on top.
7. Preheat the oven to 225-250 degrees Celsius and bake for about 20 minutes. Then reduce the temperature to 180-190 degrees Celsius and continue baking for about 40 minutes. Adjust the temperatures based on your oven.
If using a traditional oven, preheat it to 250-300 degrees Celsius. Bake the loaves, but be mindful not to cool the oven too much. Experiment with the amount of wood needed for heating. Every wood-heated oven is different.
Tips:
- Adding a small amount of yeast before kneading can speed up the rising process.
- The sourdough can be stored in the fridge for about 2 weeks or in the freezer for longer periods. Revive cold-stored sourdough as mentioned in the instructions.
- Traditionally, bread dough was made in unwashed wooden containers. Leftover dough on the edges acted as a starter for the next batch.
- You can make your own sourdough starter, or it can be purchased dried from specialty stores or online.
Eating and storage
The bread will mature over several days, and the taste will change and improve. Slice it thinly with a heavy, sharp knife carefully since it will be hard, and the knife can slip and cut you. Use real butter, oh yeah!! Have a glass of cold milk and enjoy ❤
Rye bread also freezes really well. I usually make small breads and freeze them in batches.But before freezing I half them. When you take them from the freezer, you just toast them, and the taste is like freshly baked rye bread!
Note: this bread is not intended to have a crunchy, thick crust like a French baguette. Store in a cloth bag and then in a plastic bag. The bread keeps well up to 2 weeks (by then, we ate it all, and a new batch was baked). Remember that this bread has a lot of fiber, and it may influence your digestive system. This means you might get a bit “farty”. It’s normal but your digestive system will get used to this bread if you eat it often.


“Is there anything more Finnish, than sourdough rye bread?” —> Mämmi ? 😉
LikeLike
Absolutely, if you like it! I don’t 😉
LikeLike
Not sure where you live, but Finnish Deli in Thunder Bay, ON, Canada can source “real” rye flour. The flour does make “real” rye bread using cast iron pot method. Not sure if flour can be shipped to US.
LikeLike
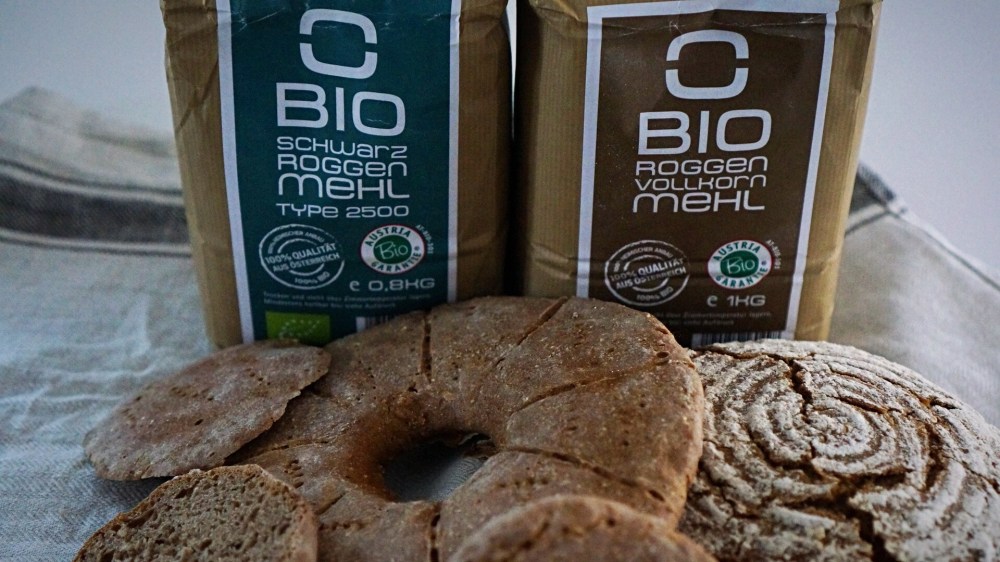
Olli, I live in Austria. Austrians use rye flour,but the milling is not the same, as in Finland. Actually Austrians sell lots of rye to Finland 😊The flour is usually milled without the corn husk,resulting into light and very fine flour. When baking with this type of flour, result will be light colored bread. Still really yummy but.. Till now, one of my friends has been milling the rye grains into type of the flour that I need. That’s why I were really happy to find Der Backprofi. Der Backprofi has three different kind of Rye flours available. I am using black rye and whole wheat flours mixed. The very fine one, I use mixed with whole wheat, for making Karelian Pies. I am very sure that what ever good quality organic rye flour you have available, will give you excellent baking result.
LikeLike